
Directly in timr you can use the manual timr drive log. It's also possible to use our automatic GPS-based mileage tracking app "Tour". This app can be synchronized with your timr account. This way you can create reports and analyses in timr.
Overview of the 2 possibilities to track your mileage:
timr drive log:
- Trips are recorded directly in timr
- Users can track their mileage with different cars
- Data (like odometer standings, places, etc.) has to be entered manually
Tour milage tracking app:
- Tracking is done in the separate Tour smartphone app
- Everything is tracked automatically via GPS
- At the moment it's only possible to use the Tour app on your smartphone for 1 user and one car
- Connecting various Tour apps with 1 timr account is possible
Further info on the usage of the Tour in combination with timr are available at https://tourapp.io/timrintegration/
Below you'll get the most important infos on tracking your mileage with the timr drive log:
1. Mileage tracking on your smartphone
2. Mileage tracking on the web
4. Configure email notifications
1. Mileage tracking on your smartphone
For detailed Information follow the links:
1.1. Mileage tracking via iPhone App
1.2. Mileage tracking via Anrdoid App
2. Mileage tracking on the web
Detailed information under the link: Mileage Tracking in the Web Application.
3. Reports
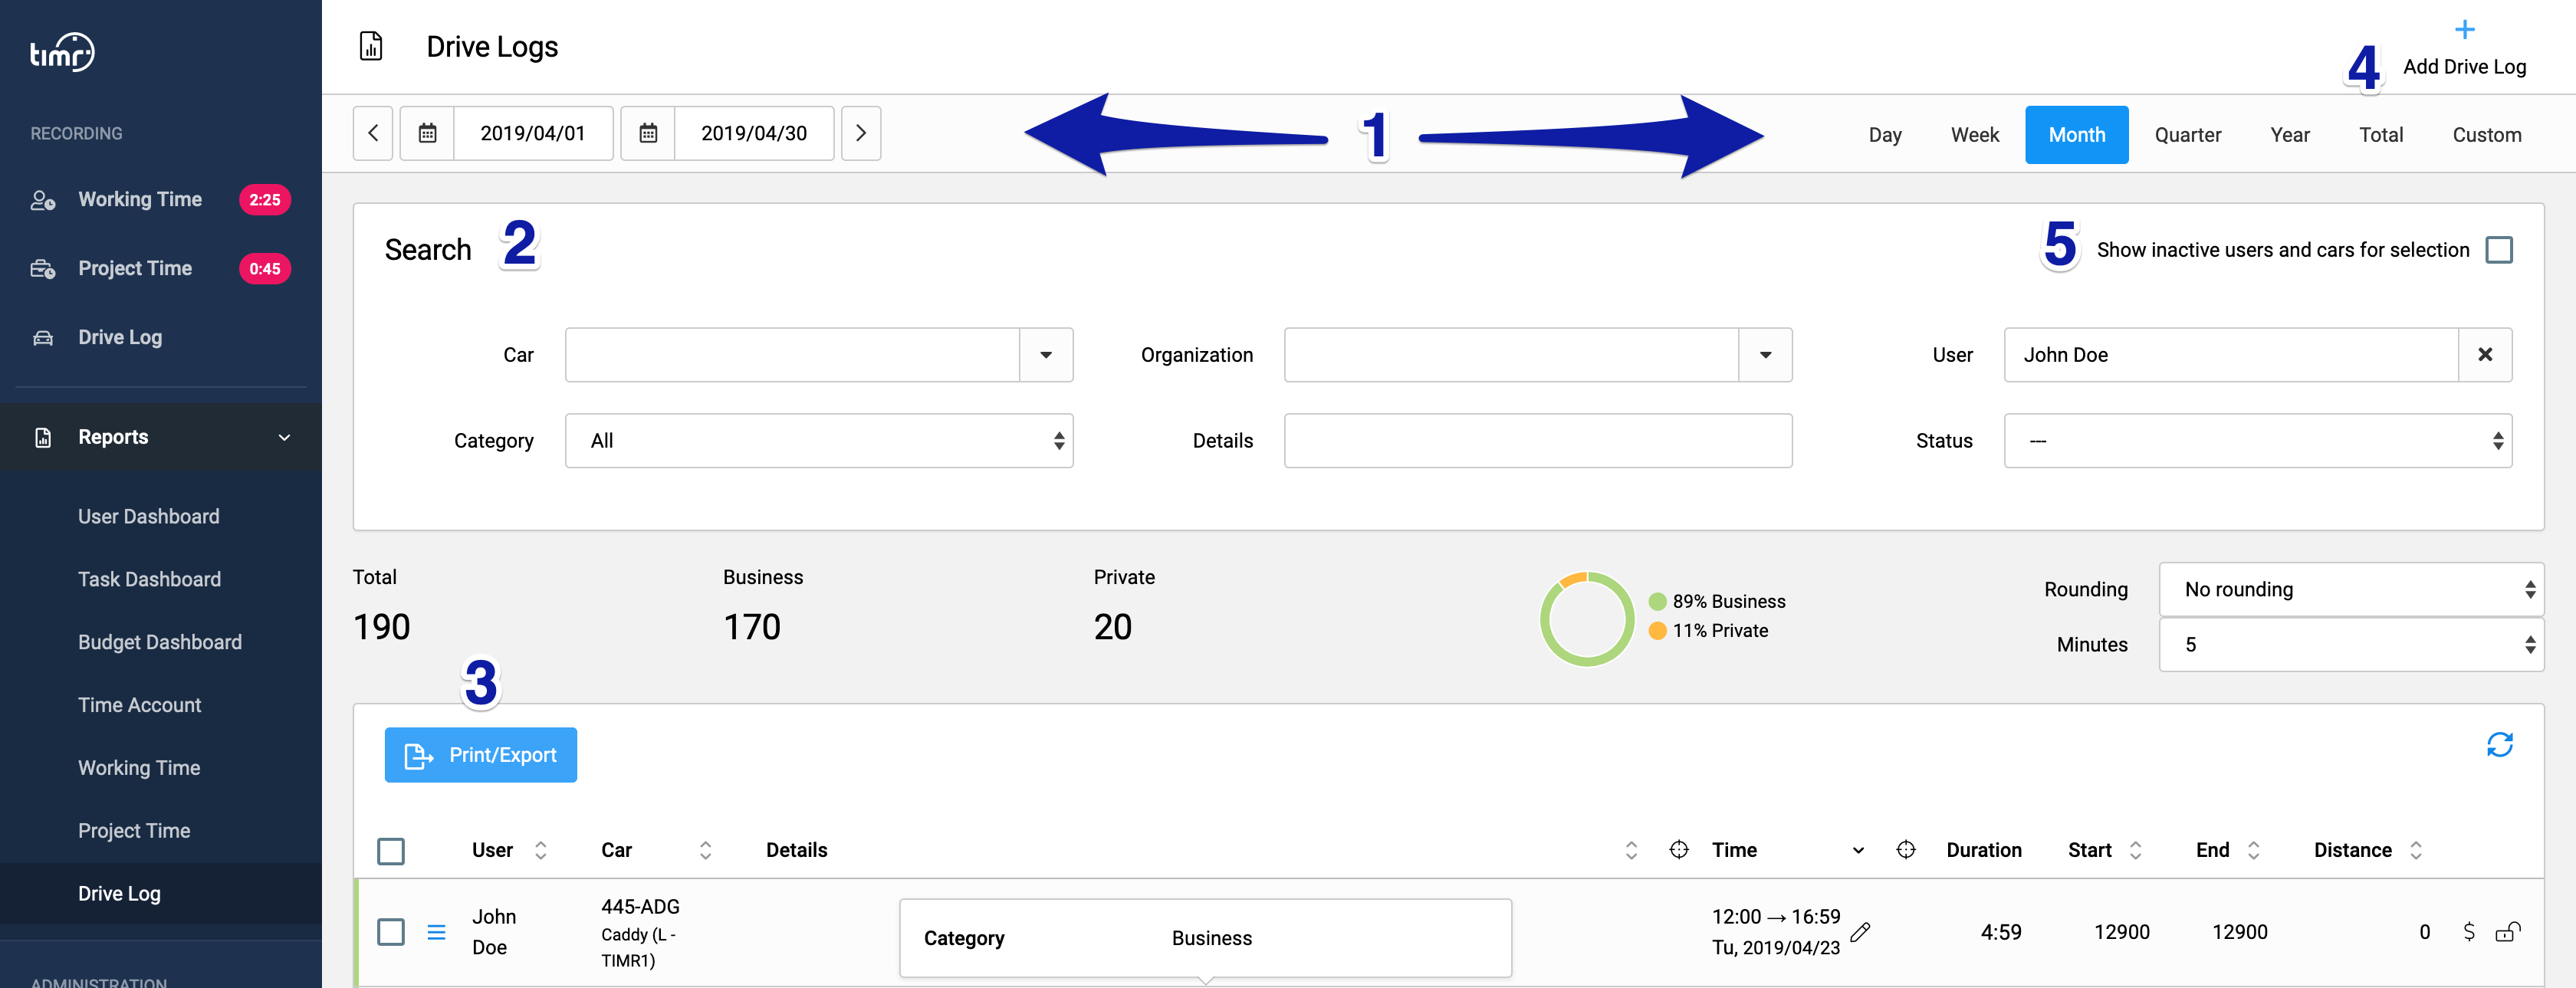
The timr drive log provides a detailed list of the fleet and its use by the employees. You can evaluate and print the tracked data to your company's fleet. The feature "Print/Export" offers you the possibility to create a PDF file with a history, which is required from the register office.
Marker 1: You can select a "relevant period" for the report. You can choose the "user", the "car", the "Route/Purpose/Visited", if it was a "Business" trip and if the track is "locked" (unchangeable). The recorded times can be "rounded" in the desired form.
Marker 2: The "filtered" data are shown and you can print them in form of a report or export them.
Marker 3: Click "Print/Export" and you can choose a file.
Marker 4: You can "add another drive log" and set status to "selected records" (marker 5).
Marker 6: If necessary you can also filter for inactive users and cars by enabling them for selection.
3.1. Print/Export
timr allows to present the first collected and filtered data in the form of a report. The icon "Print/Export" (marker 3), offers you the possibility of a automatically created report containing the data. Because of previous configurations in "administration"/"settings" the report will be supplemented with the company logo and the company's address.
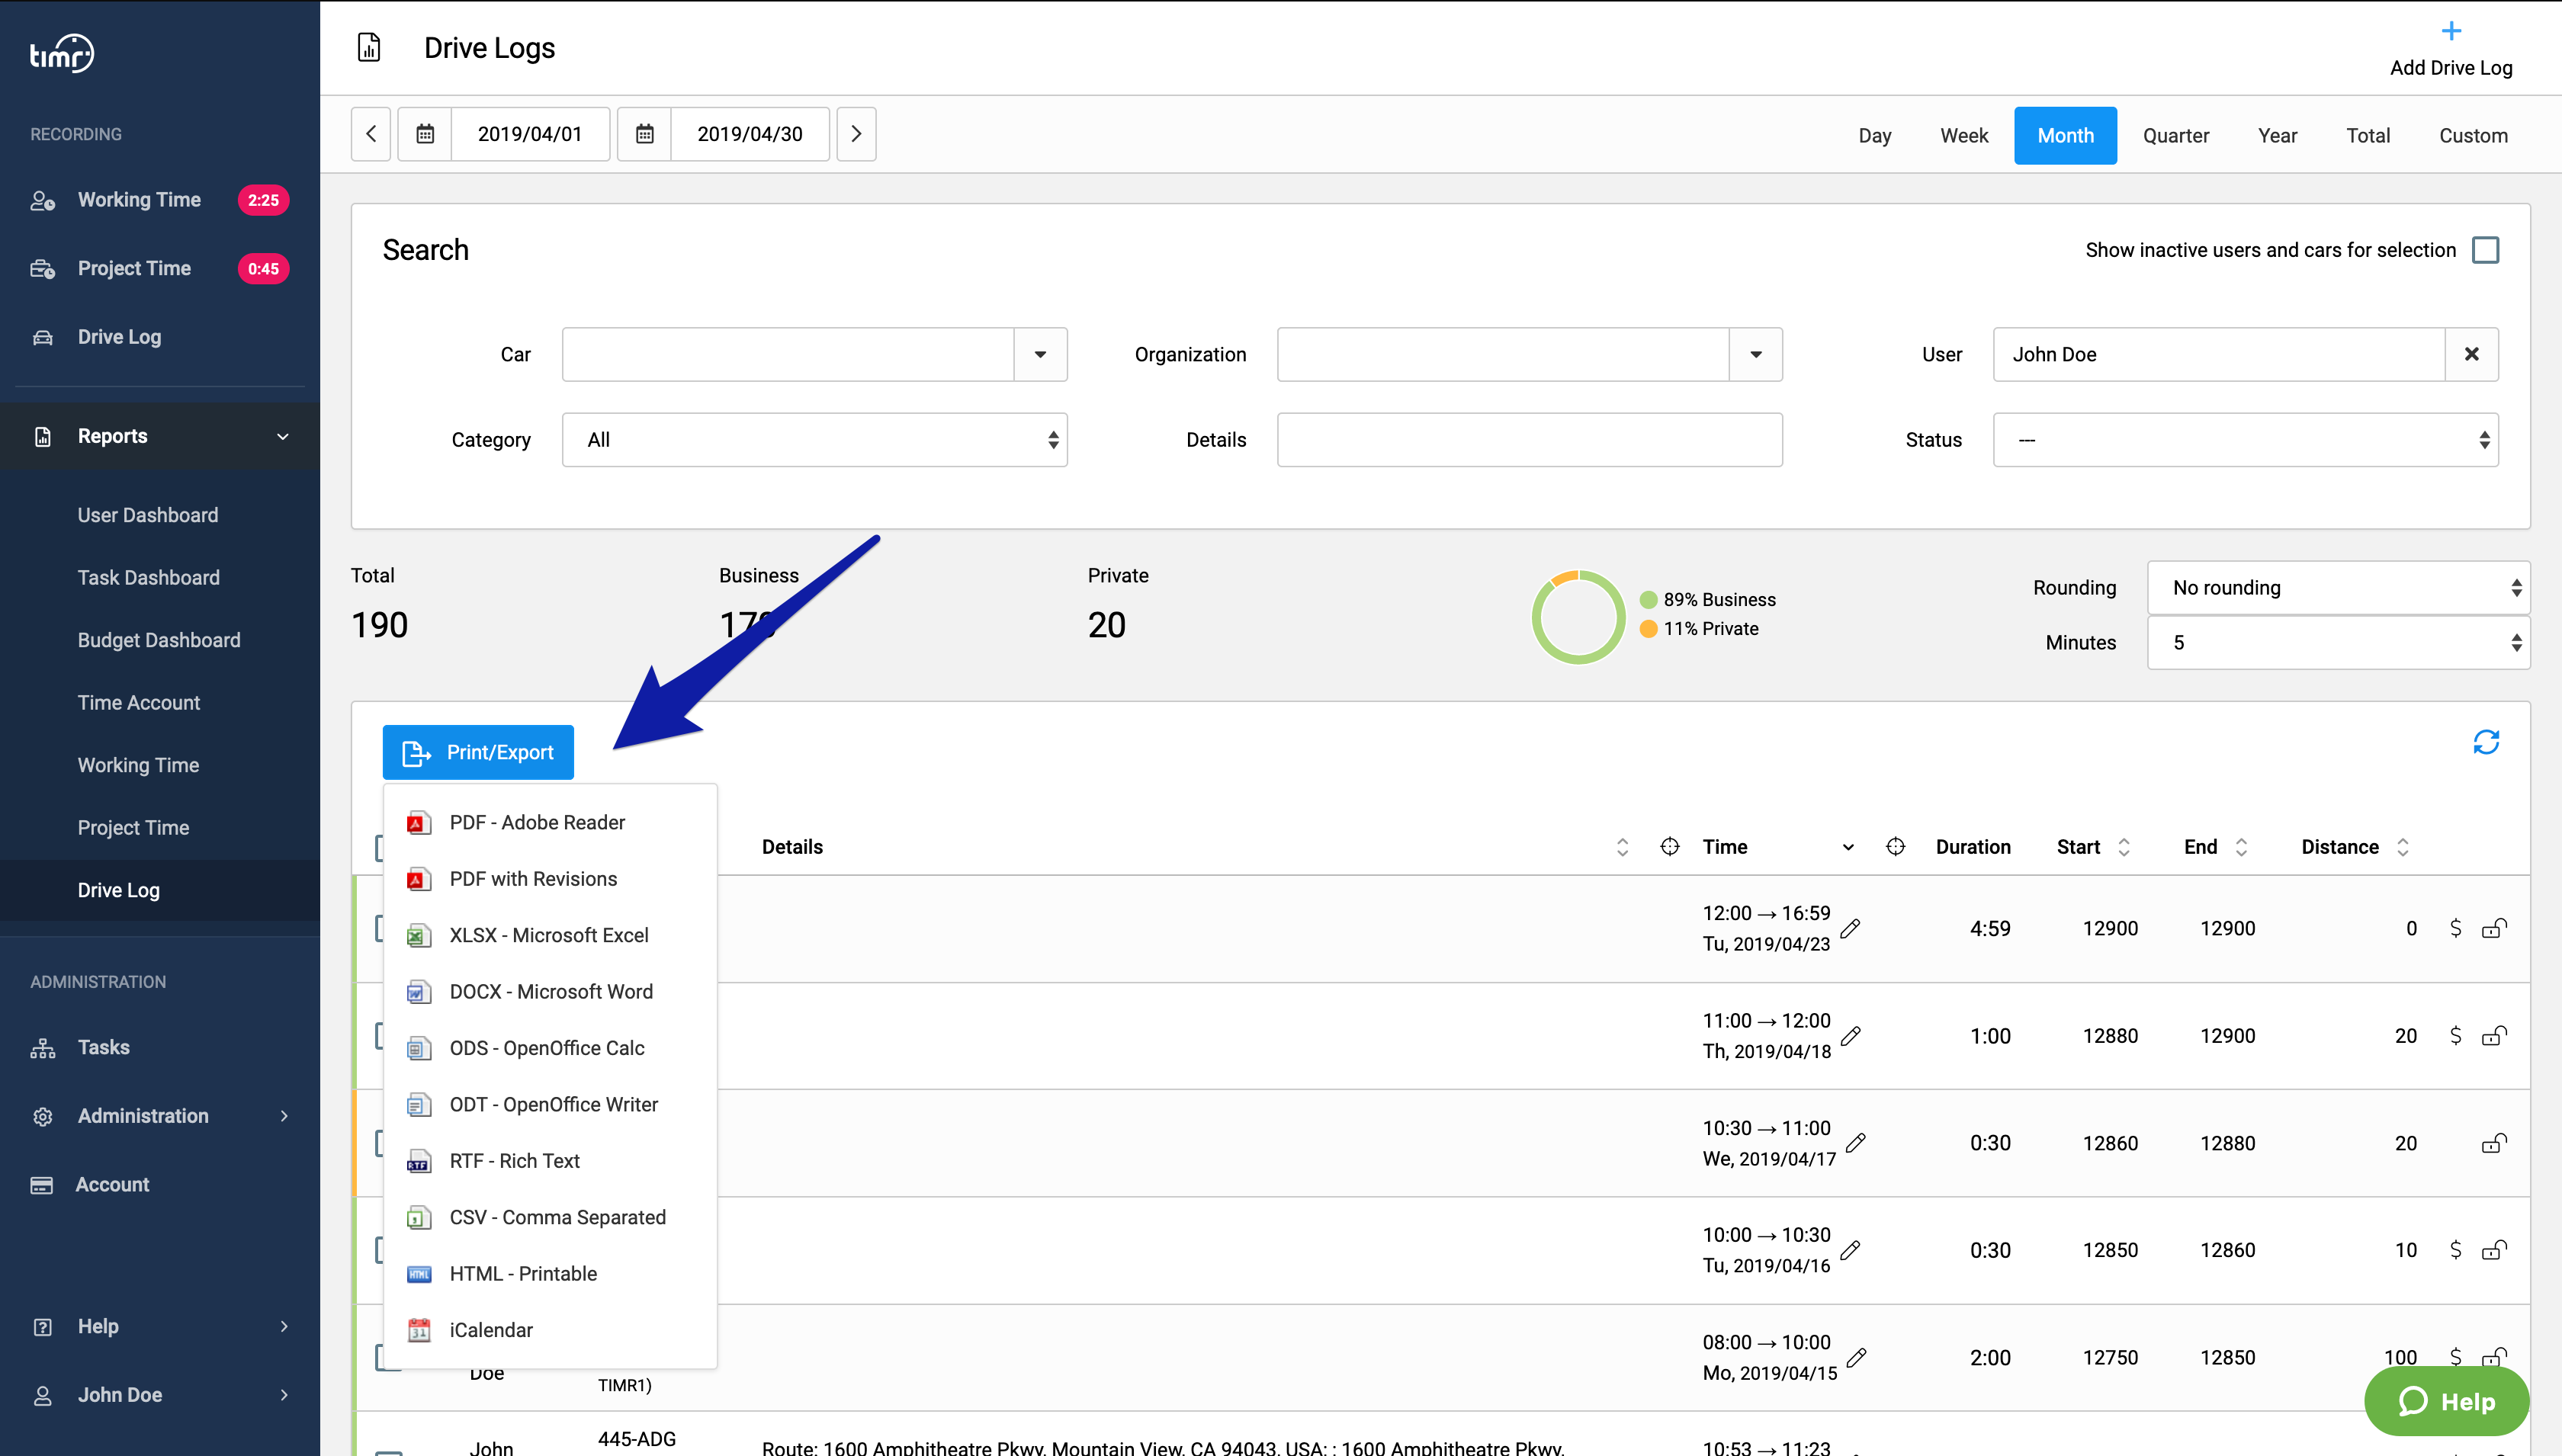
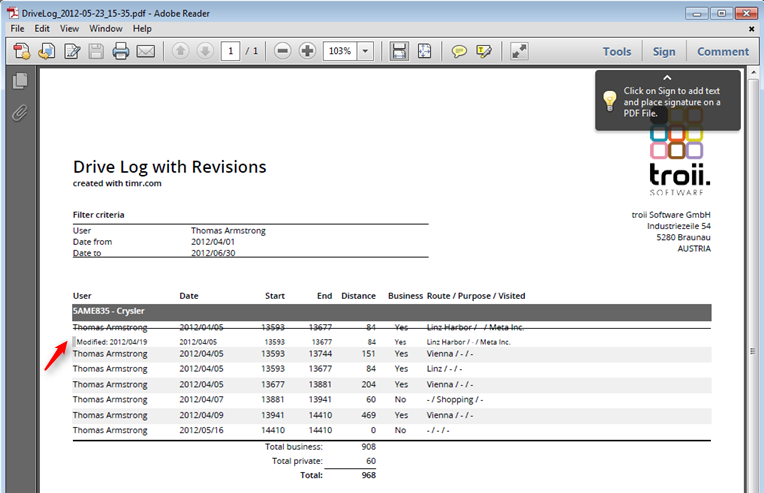
A special timr feature is to create a drive log report in a "PDF file with Revisions". To do that click, as shown in the screenshot, "PDF with Revisions". The PDF file contains all information needed for the register office.
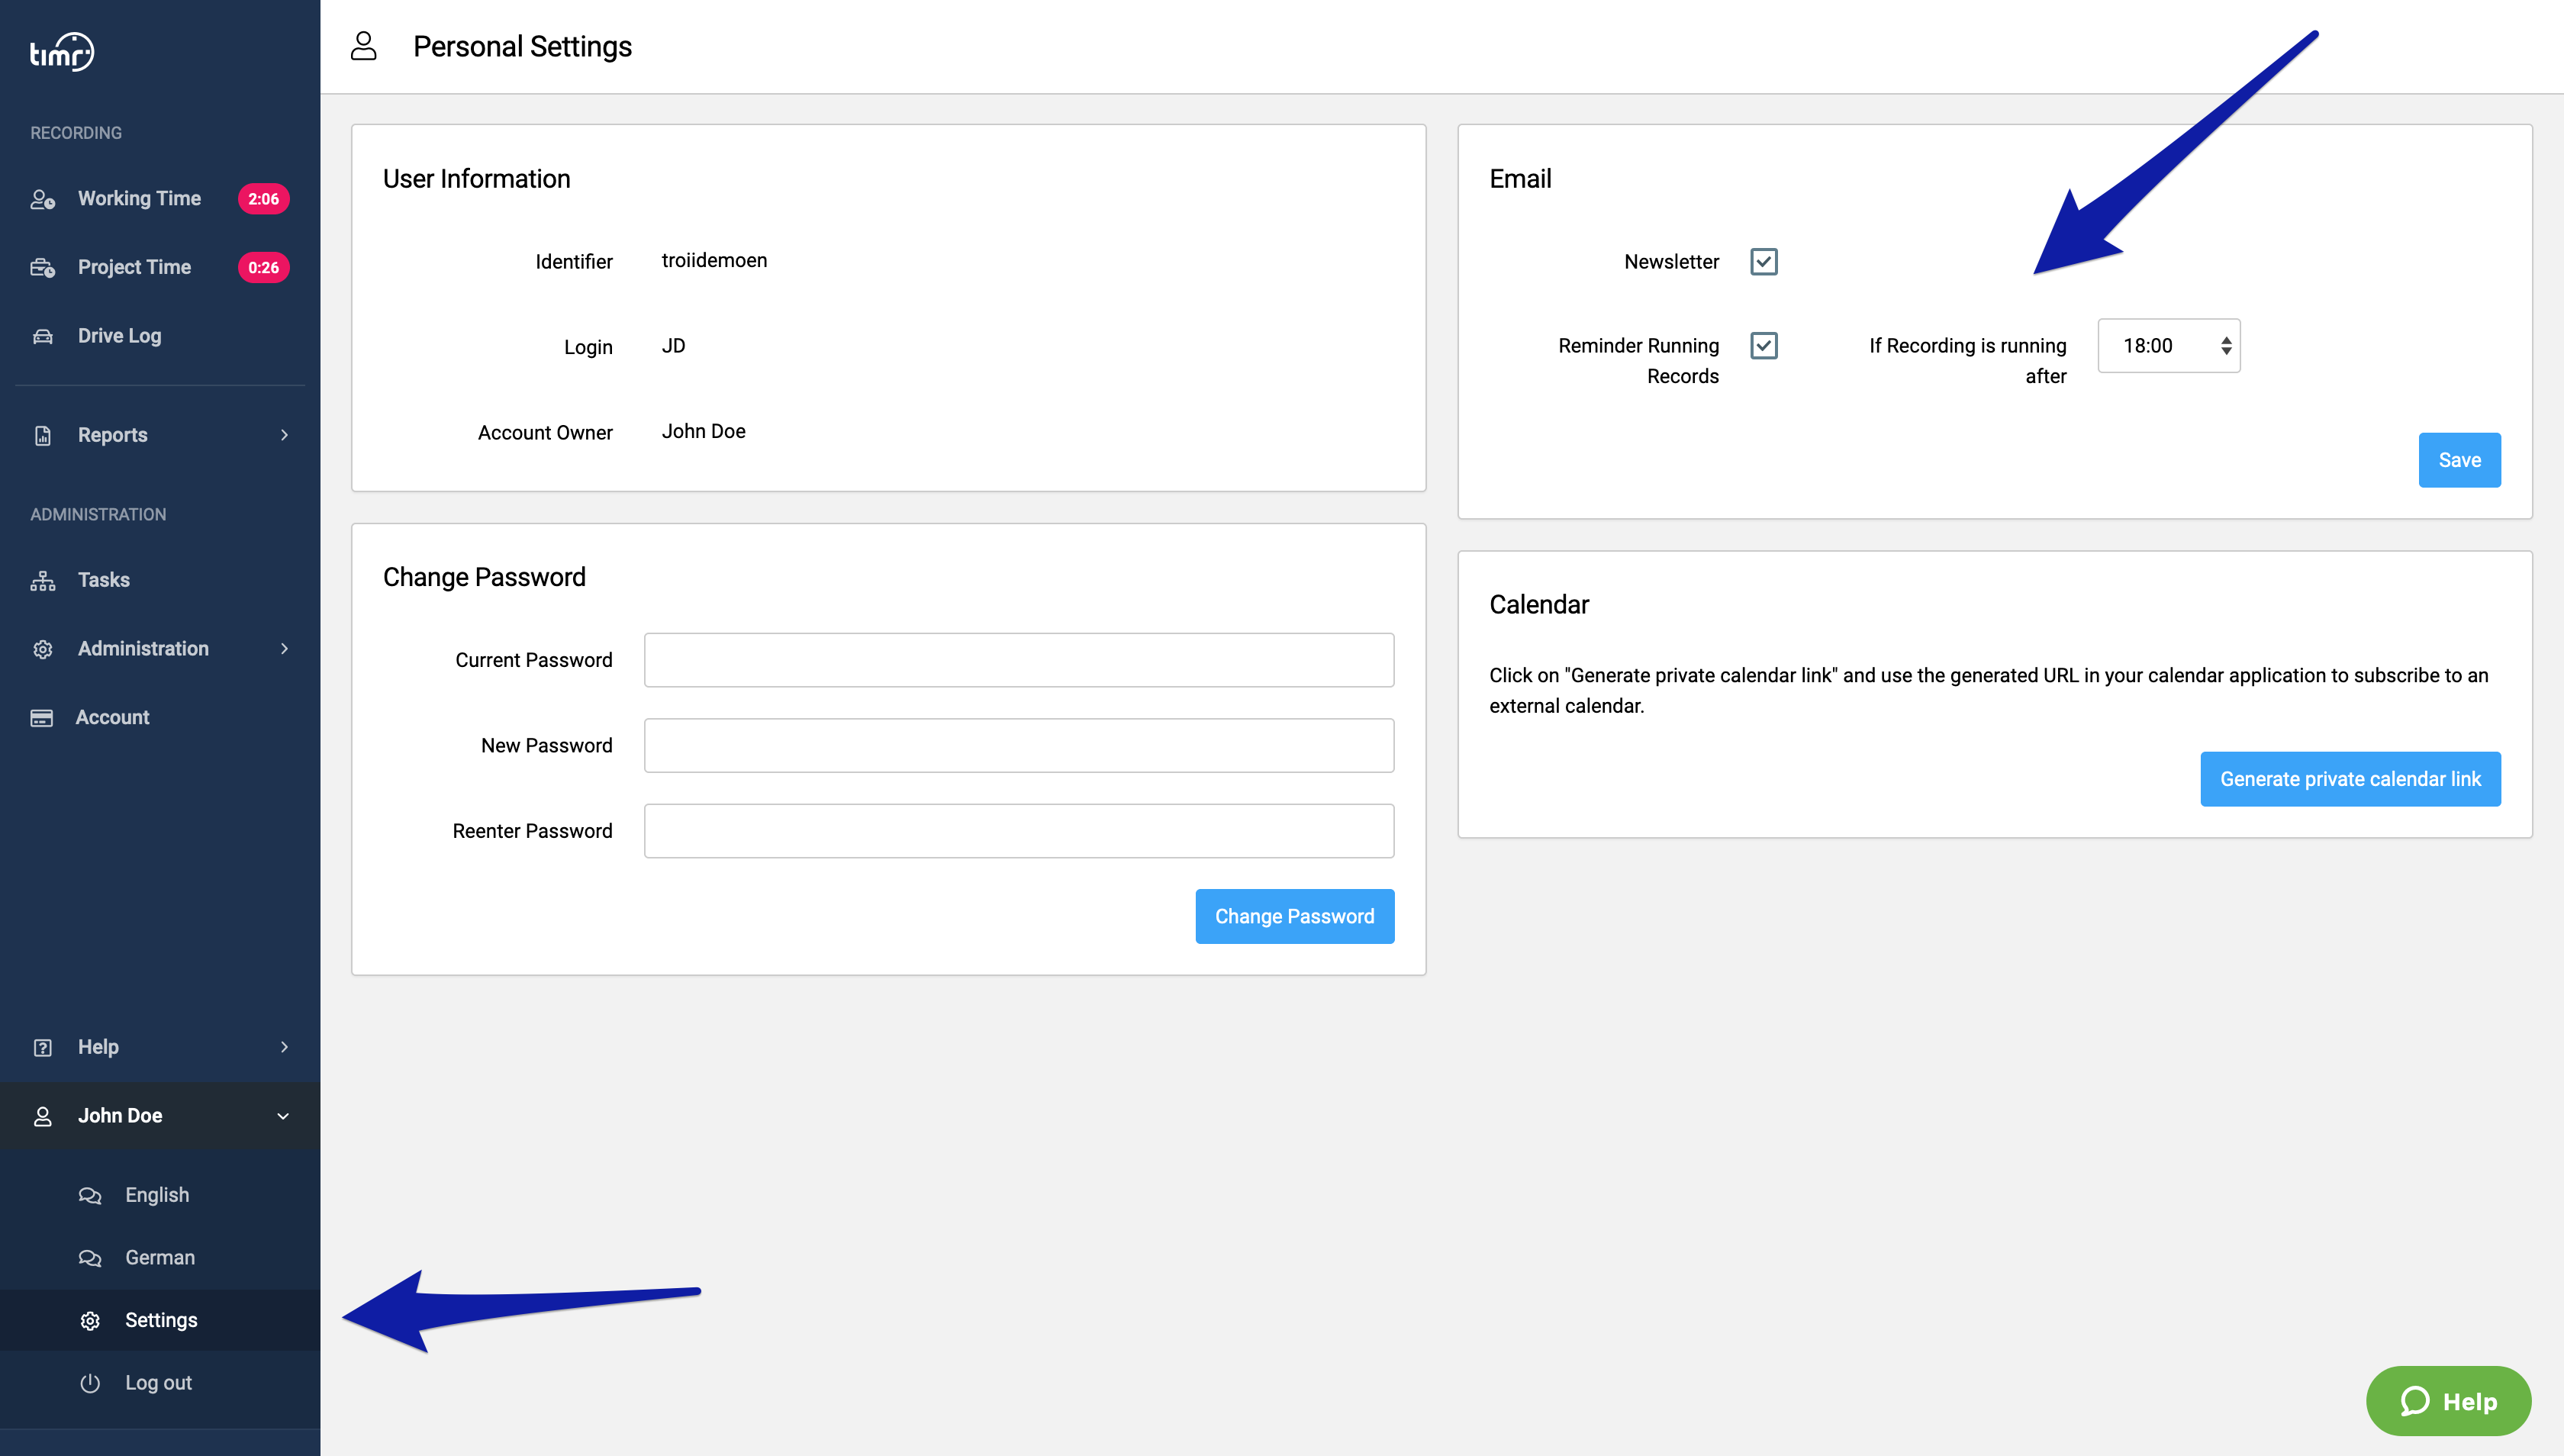
4. Configure email notifications
You can setup an email notification which users will get if their timr is still running after a certain time. To do this enter your personal settings menu.
Comments
0 comments
Article is closed for comments.